Animated camera movements with Babylon.js
Index
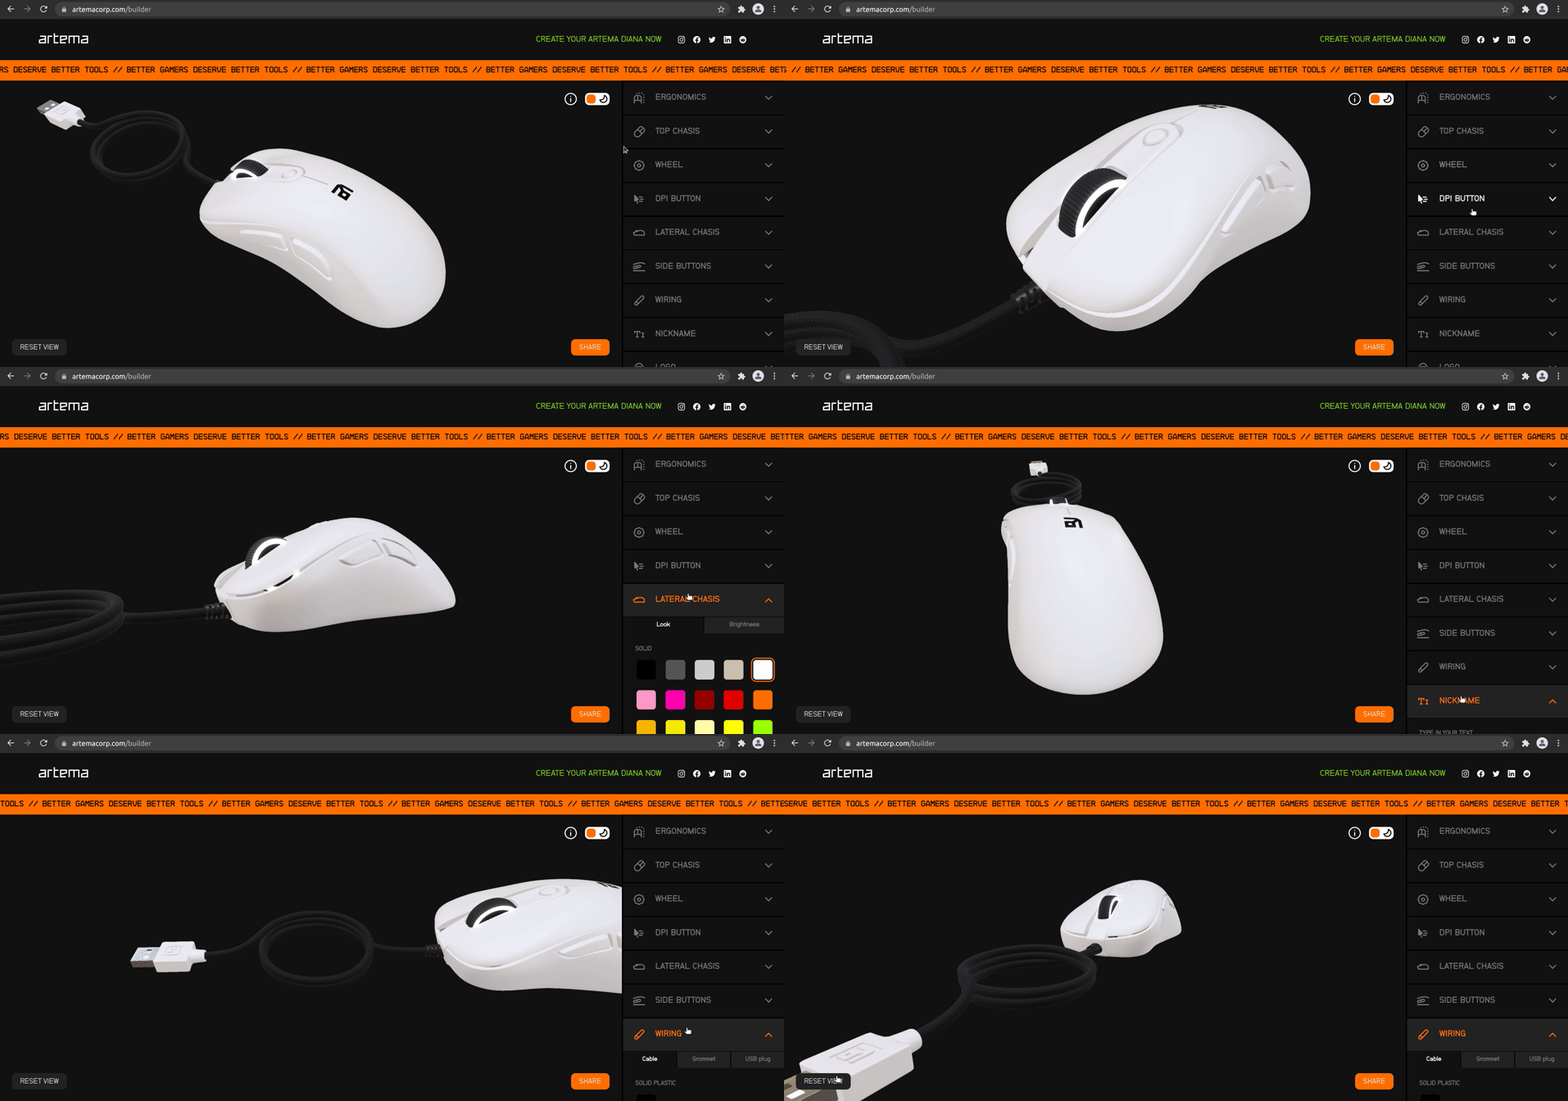
One of the challenges we've faced at Artemacorp this year was to animate the camera when the user selects a section in the menu. The main reason was to make the user aware about the relation between the menu sections and the 3D mouse parts. We've called this feature the "context menu". You can play with the real mouse builder at https://artemacorp.com/builder. This is how it looks like (sorry for the low fps):

In this scenario, we're using the Babylon's ArcRotateCamera. We can think of this camera as a satellite orbitting a planet, which will be the target. In our builder, the target represents the center of the mouse, which is the vector [0, 0, 0]. And the camera orbit is set using the alpha, beta and radius. Sometimes defined by the user when rotates the camera manually, and sometimes is set programatically when the user clicks on any menu section.
- Alpha: longitudinal rotation, measured in radians.
- Beta: latitudinal rotation, measured also in radians.
- Radians: represents de distance between the camera and the target, the zoom. And I have no fucking idea about what kind of sizing is used for this.
We can represent a camera position in code this way (avoiding some scene code boilerplate):
import { Engine, Scene, ArcRotateCamera, Vector3 } from "babylon";

const engine = new Engine(canvas, true);
const scene = new Scene(engine);

const camera = new ArcRotateCamera(
  "main-camera", // camera name
  0, // alpha
  0, // beta
  10, // radius
  new Vector3(0, 0, 0), // target position
  scene
);
To move the camera position, we just need to imperatively mutate the camera's angles, zoom and target position:
camera.alpha = 10;
camera.beta = 10;
camera.radius = 10;
camera.target.x = 0;
camera.target.y = 0;
camera.target.z = 0;
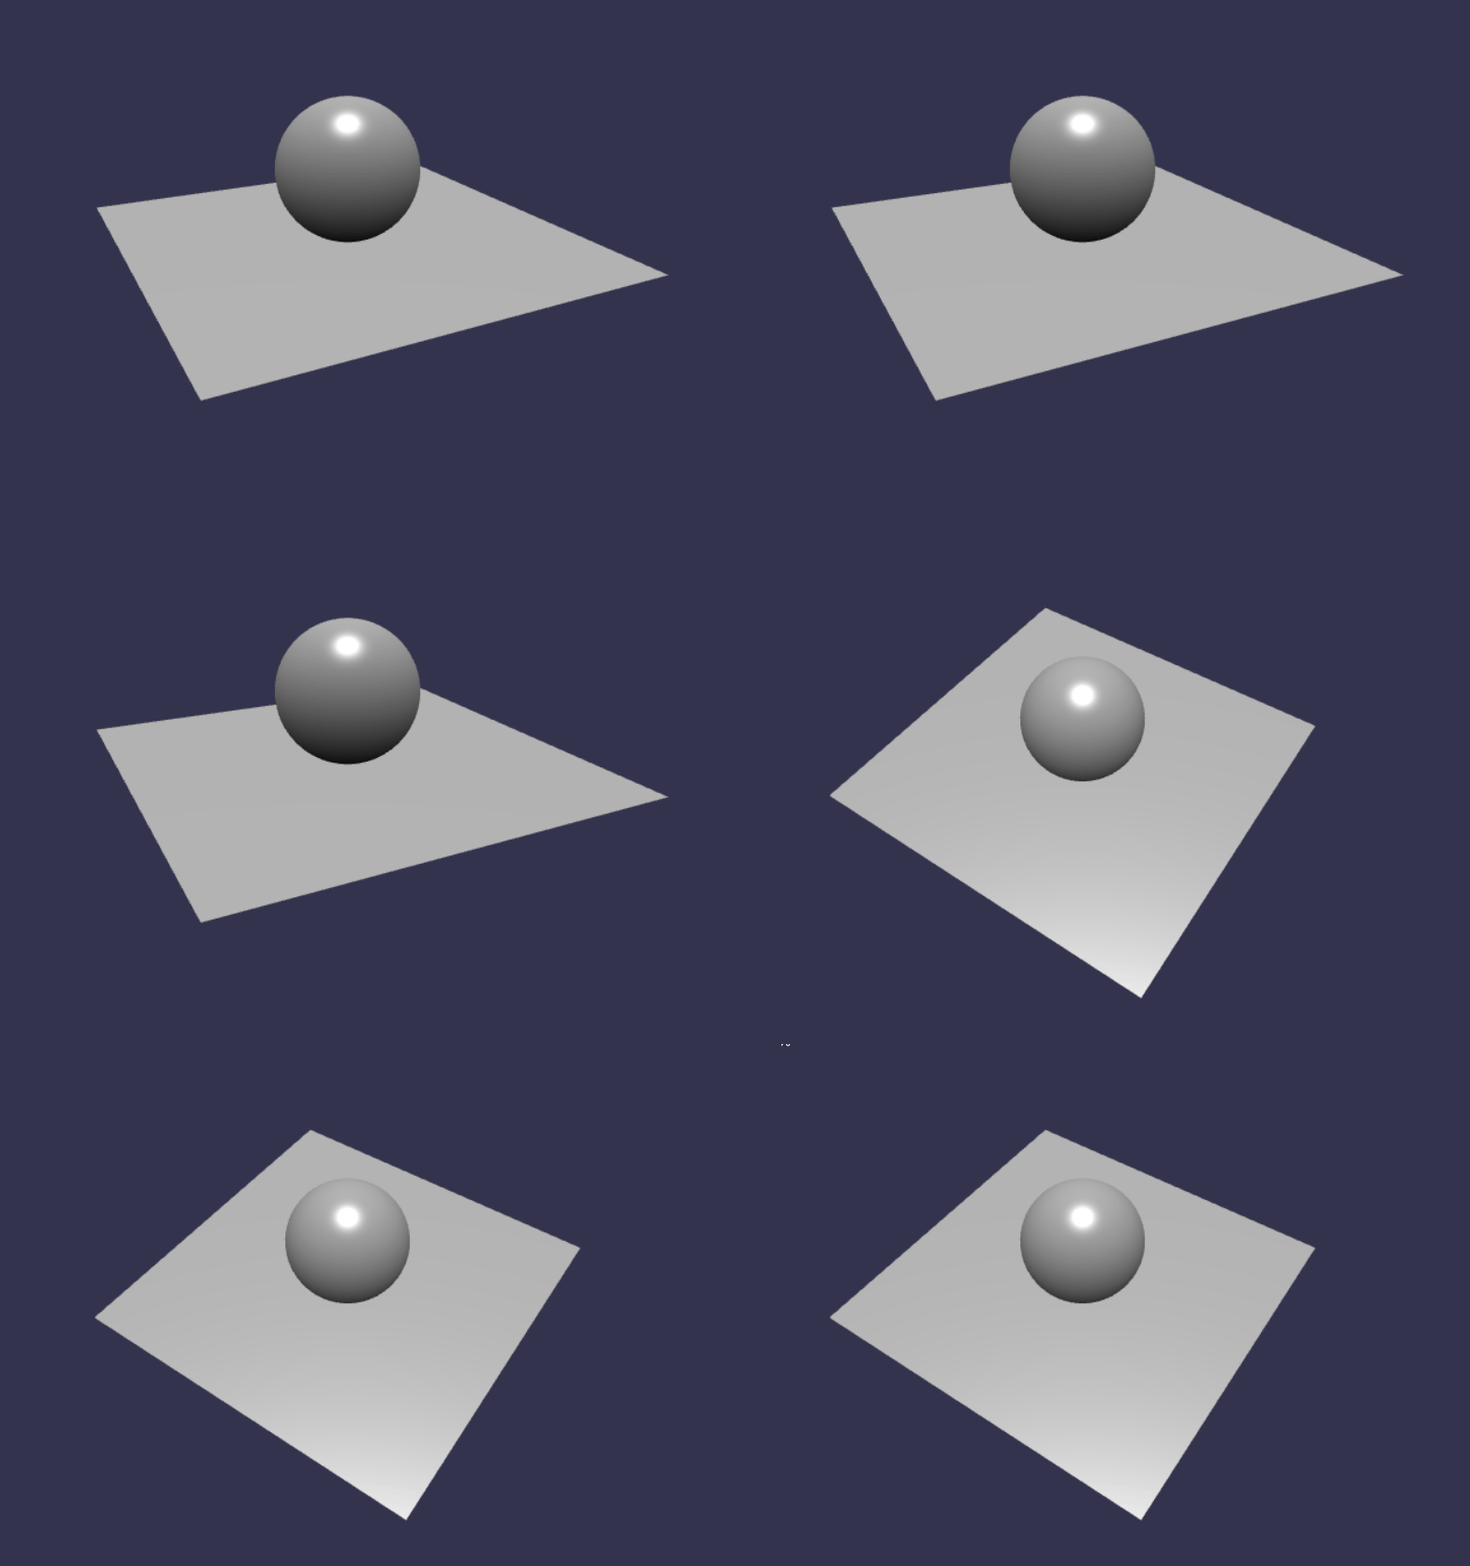
The camera now will change instantly from its original position to the new defined position like this:

Check the full code example in this babylon playground: playground/#9YZ0UX#1
This works, but the effect is a bit forced for the user. This is where the animations get in action.
Enter the Animations
In Babylon, every mesh, camera or light can be animated. Those are called performers. And any property of those performers needs to be animated separately. In other words: to animate the camera movements, we will need to create an animation for alpha, beta, radius and target vectors separately.
Every basic animation is composed by an Animation object, and set of keyframes. We can create an animation using its named constructor Animation.CreateAnimation:
const FRAMES_PER_SECOND = 60;

const betaAnimation = Animation.CreateAnimation(
  "beta",
  Animation.ANIMATIONTYPE_FLOAT, // animation type
  FRAMES_PER_SECOND, // frames per second
  ease
);

betaAnimation.setKeys([
  {
    frame: 0,
    value: from,
  },
  {
    frame: 100,
    value: to,
  },
]);
Once animations are created, we attatch them to the performer using the property animations. In our case, we select the activeCamera of the scene (our ArcRotateCamera) and we attatch all animations to its animations property:
const performer = scene.activeCamera;

performer.animations = [
  betaAnimation,
  alphaAnimation,
  radiusAnimation,
  targetAnimation,
];
Once a performer has animations attatched, the trigger to begin is:
scene.beginAnimation(performer, from, to, loopMode, speedRatio);Animating our camera
Having said that, we arranged the code avobe to fit our needs. This code snippet works as an animation factory. Takes any property we want to animate, the starting point, the end, and adds a default easing mode:
import { Animation } from "@babylonjs/core/Animations/animation";
import { CubicEase, EasingFunction } from "@babylonjs/core/Animations/easing";

const FRAMES_PER_SECOND = 60;

function createAnimation({ property, from, to }) {
  const ease = new CubicEase();
  ease.setEasingMode(EasingFunction.EASINGMODE_EASEINOUT);

  const animation = Animation.CreateAnimation(
    property,
    Animation.ANIMATIONTYPE_FLOAT,
    FRAMES_PER_SECOND,
    ease
  );
  animation.setKeys([
    {
      frame: 0,
      value: from,
    },
    {
      frame: 100,
      value: to,
    },
  ]);

  return animation;
}
Then we declare the following function that uses the createAnimation with a bunch of default parameters (speed ratio, loop mode, etc) to animate every property of the current active camera.
const SPEED_RATIO = 4;
const LOOP_MODE = false;
const FROM_FRAME = 0;
const TO_FRAME = 100;

function moveActiveCamera(scene, { radius, alpha, beta, target }) {
  const camera = scene.activeCamera;

  camera.animations = [
    createAnimation({
      property: "radius",
      from: camera.radius,
      to: radius,
    }),
    createAnimation({
      property: "beta",
      from: camera.beta,
      to: beta,
    }),
    createAnimation({
      property: "alpha",
      from: camera.alpha,
      to: alpha,
    }),
    createAnimation({
      property: "target.x",
      from: camera.target.x,
      to: target.x,
    }),
    createAnimation({
      property: "target.y",
      from: camera.target.y,
      to: target.y,
    }),
    createAnimation({
      property: "target.z",
      from: camera.target.z,
      to: target.z,
    }),
  ];

  scene.beginAnimation(camera, FROM_FRAME, TO_FRAME, LOOP_MODE, SPEED_RATIO);
}
Now we can use the function like this in our code:
moveActiveCamera(scene, {
  alpha: 0.8,
  beta: 0.7,
  radius: 10,
  target: {
    x: 0,
    y: 0,
    z: 0,
  },
});
(!) This is just an example of how can we implement this, note that I've used a lot of implicit dependencies making this funcion hard to test. But let's keep this to simplify the example.

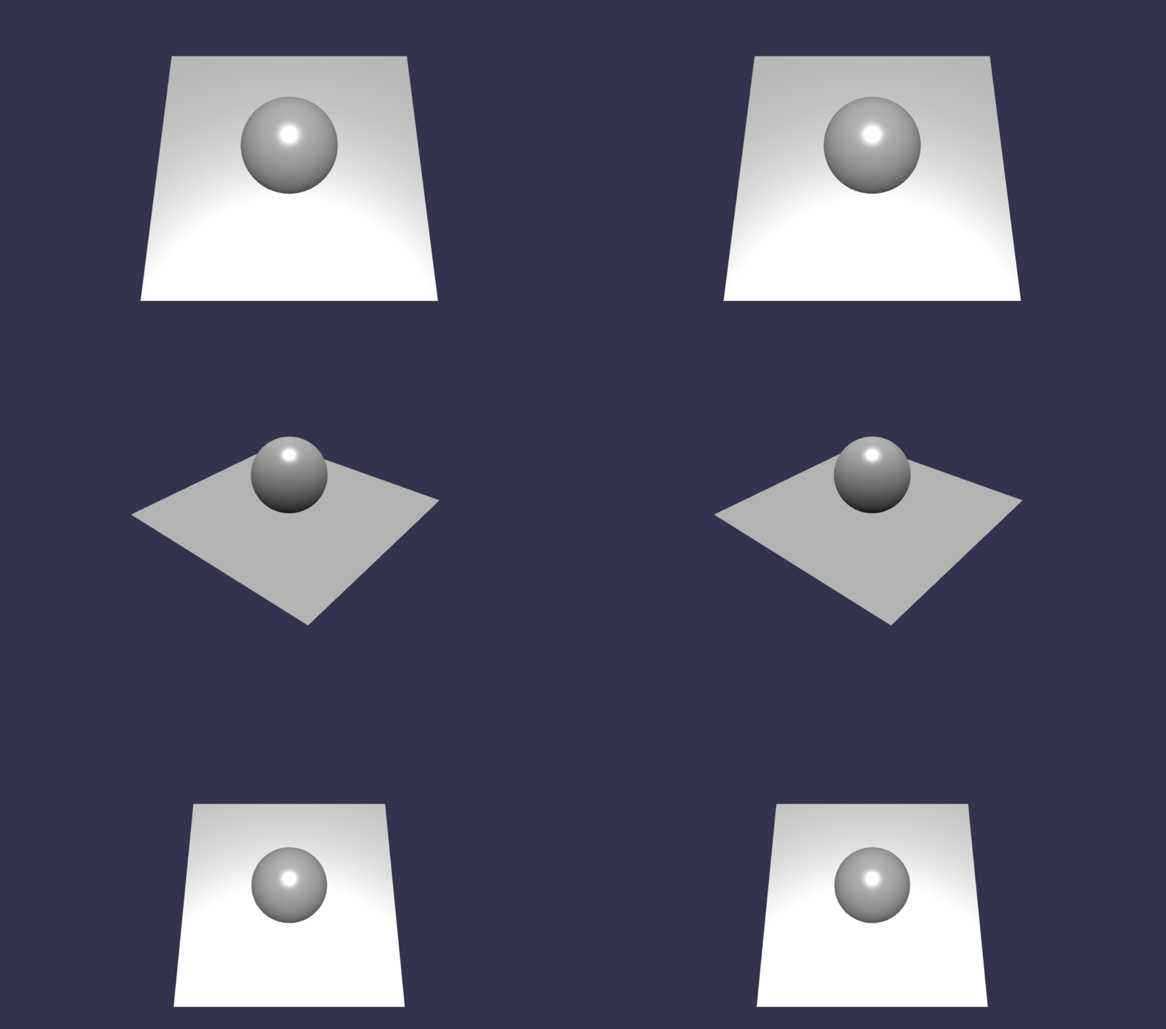
You can check a fully running example here: playground/#T6F1CG#2
Extra notes
- Instead of calculating the alpha and beta angles, the orbit position of the camera can also be calculated using a vector constructor:
camera.setPosition(new Vector3(x, y, z));- One can see that everytime a camera completes an entire orbit, the radians are accumulated. So, if we complete 3 orbits into our object, when we want to animate the camera to point
[0, 0, 0]the camera will spin three times back.